We’ve condensed the basics of product photography (and a few advanced techniques) into one comprehensive guide to teach you how to take and edit amazing product photos. By following the tips and tricks in this tutorial, you’ll be able to increase sales and reinforce your brand with professional-looking images that will grab potential customers’ attention, no matter what device they’re using.
Before we get into how to take great product photos, let’s first go over some of the basics of photography, including aperture, shutter speed, and ISO. These concepts will come in handy when you start adjusting your camera settings to get the perfect shot. Visit RTBShopper to get more information about us.
Aperture:
Aperture is the setting that controls how much light your camera lets in. It’s measured in f-stops, and the lower the number, the more light will be let in (and vice versa). Aperture is also what determines how much of a scene will be in focus—the smaller the number, the closer objects are to being completely sharp, and the larger it is, everything will appear more blurry.
Shutter Speed:
Shutter speed is how long your camera’s shutter stays open, and it’s measured in seconds or fractions of a second. A longer shutter speed will result in a brighter image, but it can also cause blurriness if the subject is moving. A shorter shutter speed will be darker, but it will freeze any movement—perfect if you have a subject that’s in the middle of doing something fast, like someone running.
ISO:
ISO is how sensitive your camera sensor is to light, and it’s measured by numbers 0-12800 or beyond. The lower the number, the less sensitive—and brighter—your image will be, but it can also result in more graininess (also called “noise”). A higher ISO will be darker, but it can help reduce noise.
Now that we’ve gone over some photography basics, let’s get into how to take great product photos!
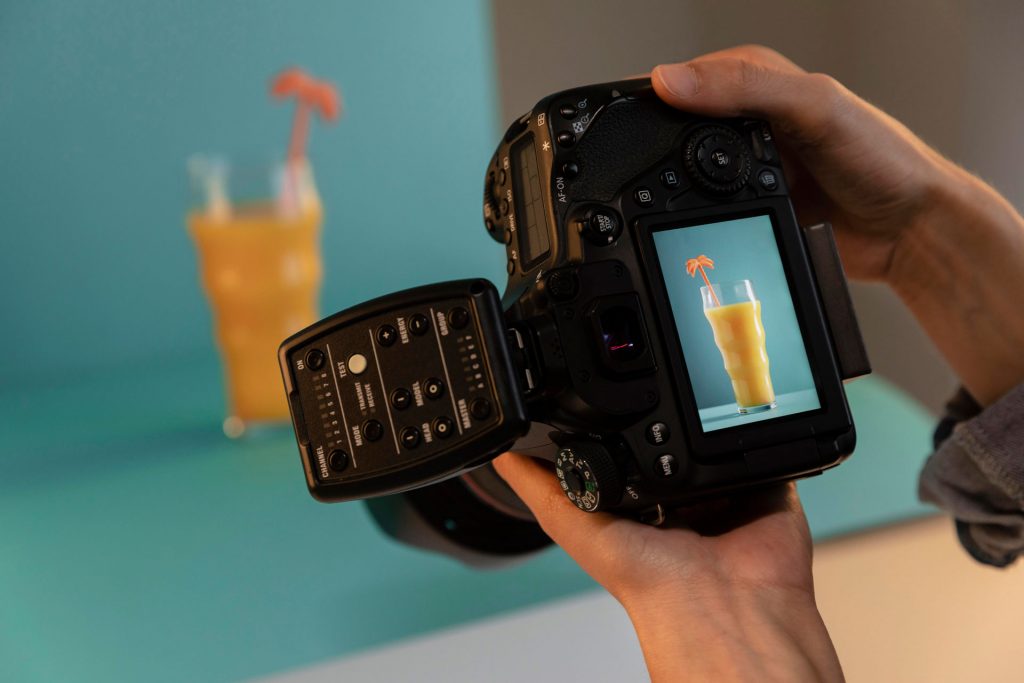
The first thing you’ll need is a good digital camera—preferably one with a macro lens, which allows you to take extreme close-up photos of small objects. If your camera doesn’t have a macro lens, there are a few other ways to get around that:
You can use a macro lens adapter, which is a less expensive version of the real thing; or you can use any camera lens with a special set of extension tubes. Both options will cost you only about $20-30, and they’re definitely worth it for getting professional quality product photos!
Now that you have your camera ready, it’s time to start thinking about composition. This is how you arrange the elements in your frame, and it’s one of the most important aspects of product photography.
There are a few things to keep in mind when composing your product photos:
– The rule of thirds: This is a general guideline for composition that says you should imagine your scene in thirds and place the subject at either of the intersections or along one of the lines. This will make your photo seem more organized, balanced, and visually pleasing.
– Golden ratio: A slightly more complicated rule than the rule of thirds, this composition guideline focuses on two specific parts of a scene to determine what should be most prominent—the “sweet spot” and the “power point.” The sweet spot is usually where the eye is naturally drawn to first, while the power point is a bit more abstract and can be used to create a sense of tension or harmony in your photo.
– Negative space: This is the empty space around your subject, and it’s just as important as your subject itself. Negative space gives the eye a place to rest, and it can help emphasize your main subject.
– Leading lines: These are lines that draw the viewer’s eye through your photo and toward the subject. They create a sense of motion and draw attention to a specific area.
Once you’ve figured out how you want to compose your photo, it’s time to start setting up your shooting area. This is especially important if you’re taking photos of multiple products, as you’ll need to make sure each one is well-lit and in focus.